A recording is simply a way of sharpening our level of musicianship. It brings about a lot of benefits like a heightened efficiency of practicing, enhanced lessons, promoted objectivity, and distorted perception prevented. These are enough reasons why many intend to record in different music styles.
Technology also provides a clear recording of music around the world with no to just a little cost. It enables us to take pleasure in the new recording formats. More tracks are now available as they are thrown away. The recording has turned out to be a musical hoarding.
There is always room for music as you decide to start recording. Below is the ultimate guide to follow to start recording today.
9 Things You Should Check Before Recording Audio
Below are the nine essential things to check before recording audio.
1) Check The Tone of the Room
The tone of the room is an essential sample of an occurring noise. This is to say in the environment meant for recording. A microphone can pick things up even if you could not hear anything. These things include computer fans, ventilation noise, buzzing coming from lights, and traffic.
So far, this is among the first things to check upon arriving on the set. It is essential to keep the tabs on in the entire production. This is a must-thing to do before finally doing the recording. Unnecessary tones are combated in the audio edit after recording for a few minutes.
2) Check the Connections Available
Recording audio music requires checking the connections available. The audio recording demands a lot of ports, connections, and wires. These are needed to be plugged in and secured. Everything needs to be set especially regarding smaller headphones and audio jacks.
3) Decide Whether It Will be An Auto or Manual Settings
A decision is to be made in regarding the levels of audio recording. It boils down to deciding whether it is an auto or manual setting. Each has a set of advantages or disadvantages to offers. As for the auto setting, it is convenient although not perfect. The manual setting is not as dependable as the former. No matter what the choice may be, the selections need to be checked before proceeding to the recording. One must be tasked to monitor the recording using headphones.
4) Read the Audio Meters
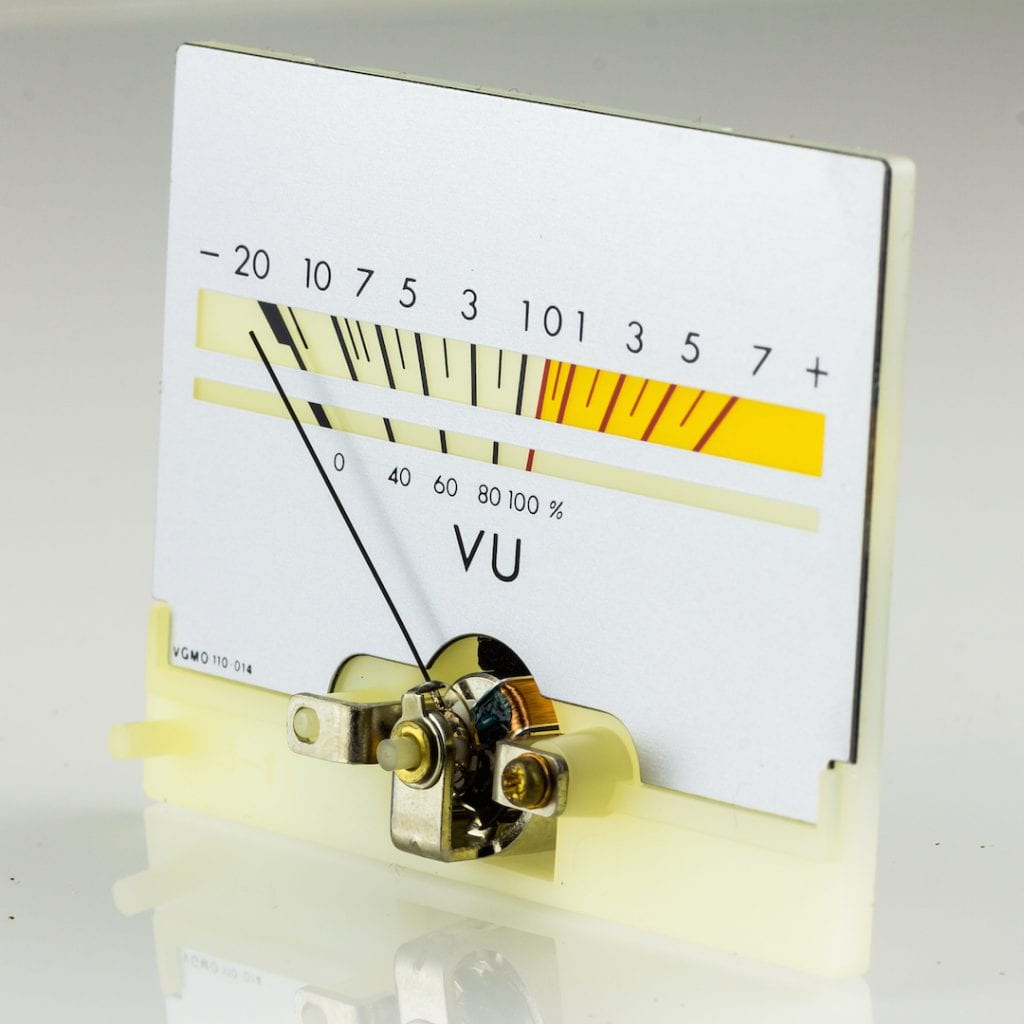
The audio meters serve as a gauge in judging both the input and the output levels. They essentially show the level at which the signal is hit upon a unit. This is, of course, at an optimal level achieving the signal to the noise ratio. Nevertheless, auto-recording requires needing someone to monitor and read the audio meters.
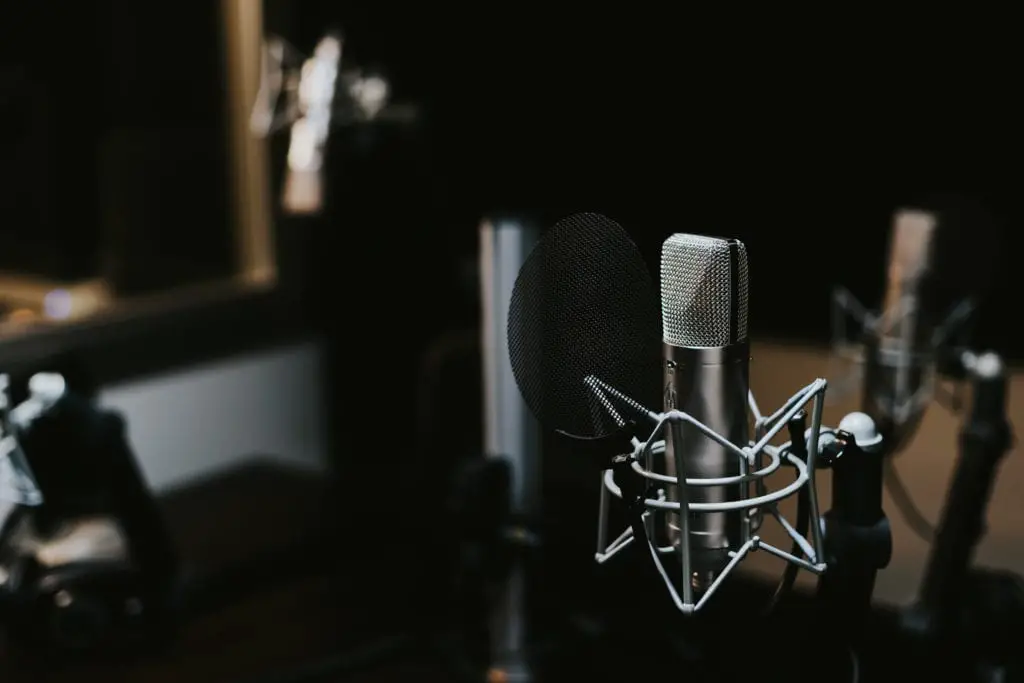
5) Check the Placing of the Boom Microphone
A boom microphone is decided upon to be included in the audio recording. This is followed by the right choice of boom pole holder, boom pole, and boom microphone. The right tools need to be added to the completion of the job. The proper placement is also thought about closely. The ideal set-up is a boom operator that is holding the boom on top of the subject. This can still be boomed up from underneath if the former is not possible.
6) Secure the Elements’ Protection
The recording tools are always prone to damage when used especially outside. This is due to the presence of the wind that can hit it unexpectedly. The addition of windshields and dead cats is essential in this case. Awareness of the location and the use of things like screens and enclosures are a must-thing. The key here is to best reduce the noise.
When recording indoors, things such as cold and heat need to be put into consideration. These will include external noises that include foot traffic, air conditioning, and appliances.
7) Check the Battery Power or Phantom
A few more power sources are essential to be considered. Checking them all is an essential thing to do. The decision to the pieces of gear to use is also to be prioritized. This is regarding what is to be powered with batteries. After the decision on the gear to use, a lot of different batteries still need to be kept handy. They are to serve their purpose as backups.
8) Check the Line Level versus the Microphone Level
Another consideration is whether or not a line level or a microphone level is to be sent into the audio recorder or camera. The line-level is believed to be a lot better as it is higher as compared to a microphone level. It also produces a good ratio between signal and noise. The audio recorder or camera is to be checked also to accepting the line levels.
9) Check the Headphones
Quality headphones need to be prepared before recording audio. This is to be done for the monitoring of the sound in real-time. In sitting at such a mixer or handling a boom pole, headphones are as always needed. The goal here is to concentrate further on the stereo channels.
Headphone jack adapters need to be kept handy for them to be used in the recording. In the navigation of audio problems, headphones need to be properly plugged in. This is even before going further to other issues.
What Kind of Sound Are You Looking For?
Following the things that need to be checked is the kind of sound to look for. The type of sound is to be planned out carefully. This is true before recording anything. It also depends much on the genre you are aiming for. This is in the case of recording things in a different approach. This is one thing to decide on throughout the formative stage of production.
In the recording of drums following various genres, the miking of drums is to be approached differently. As per the jazz drums, they may no longer require microphones being a prog-type of a metal band. Finger-picked and calm acoustic guitars also require a unique approach.
The microphones need to be thought out of well as the paintbrushes. A sonic palette is to be created from the microphones. The same microphones are to be used no matter what the genre may be. It is about the music style and the way the microphones are used. They both determine the painting that is to be ended up with.
Why Setting Levels Is Not as Dangerous as You Might Think?
Anyone is interested in recording audio the same as the good engineers in the music industry. Books and interviews are also readily available. They present you to the smooth and saturated tape and warm sound. These ideas are then applied as part of the recordings.
• Huge Mistake
It is to be understood clearly that digital audio recording is different as compared to what is read from history books. This is true to say about the overload of pre-amplifiers and tape saturation.
Digital audio as of today is not as lenient as before considering overload. The worst sound to ever hear now is digital clipping. This is as heard by an audio engineer. In the previous days, engineers liked it pushing the saturation levels. This is to obtain the sound of a warm tape. The thing accomplished as digital audio is pushed to the max is the horrible kind of digital clipping.
• No Clipping Required
A digital audio recording has always offered a lot of things to music enthusiasts. Worrying is not needed in recording at such low levels. This is due to the reason that 24 –plus bit recording opens more headroom that can be worked with.
The levels need to be set up correctly. This is to avoid issues throughout the mixing phase. The poor digital clipping is as well avoided that only ruins the audio completely. The recording at twenty-four-bit gives way to playing around the headroom and enough volume. This is also with the noise floor not posing an issue to the recordings.
In obtaining levels into the DAW, getting closer to the clipping is not something to get troubled with. Recording only needs to be done at a low level. The signal level is to be raised at a later time.
Pushing the signal as hard as you could is not needed in the case of a twenty-four-bit recording. With a sixty-four-bit recording, more headroom is then available in the increase of signal. This is right after recording it.
The ratio of signal to noise is so far higher. Even after boosting the signal after recording, the floor for the noise is still lower. This is true to say to a sixteen-bit recording. Recording at a lower level is allowed without feeling being kicked for not pushing the signal hard. It can be pushed once it has already been recorded.
It is at around seventy-five percent that the loudest signal is recorded. This is the rule of thumb to follow before finally reaching the 0-decibel. The meter that turns to red from green results in the middle of an orange that is a nice level. It is not that quiet as it seems that the audio is near to the noise-floor. This is not as loud as to bring clipping. This is not as quiet as it seems that the audio falls next to the noise-floor. This is, however, not as loud as to follow clipping.
How to Make a Plan and Avoid Stress
When recording audio, it is normal to be stressing on it at the first attempt. This is also if no plan is followed. As the work tends to build up, you may be overwhelmed especially as you have no idea what to start. You then end up doing just none of them.
But a good plan set in place seems more ideal to do. Musicians like you will feel at ease. You also will concentrate further on a great performance. There is no need to wait around to figure out the studio.
At the beginning of the recording session, it should not fizzle out. An action plan is to be made in this sense. Answer the following things below.
- What instruments are to be used for recording?
- What songs will you work on?
- What gears will you bring in the recording location?
- What will the room look like?
- What problems are predicted or to be avoided after getting there?
No need for innovation when it comes to recording. Only simple techniques need to be followed. A process is also to be followed for it to work. After arriving at a recording session, get to work right away without your brain being overloaded. These things are as needed to be kept in mind.
How to Record in Your Home Studio If Your Live Room and Your Control Room Are the Same Room?
As to most studio engineers at home, they want one more room for recording audios. Although you may seem stuck in a single type of bedroom studio to record, master, mix, and produce songs, a few advantages can still be obtained.
Rather than being envious of the big commercial studios that only drain your pocket, better to cherish the comfortable workspace or home studio.
• Things Are Just Within Your Reach
All of the gear essentials need to be present in the very same room. That way, things will easily be reached. Standing up and going to the next room for the set up is not anymore needed. Things are just readily available on one side, in the corner, or anywhere.
Set up everything to reduce the time spent getting things ready. Everything must be ready to use.
• Comfortable and Convenient Work Space Need to be Created
As you produce music, a comfortable and convenient workspace is then to be created. This will surround the DAW that seems more productive than a 2nd tracking room.
Put anything needed around the desk. This helps stimulate the levels of creativity you already have in the music production. The keyboard and MIDI controller needs to be placed on another side. Even a microphone is to be readily presented in the recording of vocals.
In the laying of guitar tricks, the interface only needs to be plugged directly into. An amplifier simulator needs to be used, too. It is done to produce more convincing tones on the guitar.
One is not demanded of standing up in the recording process. Moving the chair is also not as advised. Things can be done just right there and then.
• Get Closer to Client
Recording audio music along with others is advantageous as well. As you record an artist in one room, a more intimate and deeper relationship is established. This is to say to have a good performance.
It is not recommended to breathe down the neck of a singer. Just being with one in one room opens up more and easier communication. It is also simple and easy to discuss the performance when the two of you are inside a room.
There is no need to establish a god forbid, or a talkback system. No more a necessity to keep running next to one room for a conversation.
• Easy Flow of Work
Recording in the same room brings a lot of advantages. It has something to do with workflow and ergonomics. An easy-to-get and dedicated recording room space is a must. That way, everything can be set up there. That’s when you could go to the next client. The gear needs to be kept at hand that includes a perfect computer. This is also in the case of producing music.
Ease of communication between the producer/engineer and artist is necessary. This is true to say to get the best performance. In that same room, the setup time is further minimized. A more relaxed and better recording environment is created for the artist.
The needs of the musicians are to be handled well. This is more important to get a good sound. A musician that feels comfortable is about excellence in the sound and performance.
How to Turn “Bleed” Into “Blend”?
Recording in a home studio involves working in the cramped spaces. In this case, recording together in a room faces sound bleeding into the different microphones. The thing here is to do the blending.
Recording of different instruments in such a confined space creates a perfect blend. There is nothing to worry about it. The goal is to focus on the thing that matters. This will boil down to the performance.
People need to be kept together. They need to be required by playing a big instrument. This now results in blending making a sound a lot better. A good example of recording sounding a lot better is the spill of one microphone to another. It creates a natural space that makes the recording a positive experience.
The sound of the saxophone is not a good microphone. It is the combined microphones that pick up the sound of the saxophone. It creates a space and depth in the mix. The saxophone microphone is then soloed. It also brings about a decent sound. It may sound one-dimensional and flat. It is the same as a cardioids microphone that is pointed in a part of the instrument.
Giving a little sound at the room from the rest of the microphones makes the saxophone alive. That is when thinking about recording live recording is a must. It does not mean to say eliminating blend or bleed. It is more about using it for your good. The microphones should count in this regard. This is not only for the instrument that is in front of them. It has something to do with the instruments found in the room.
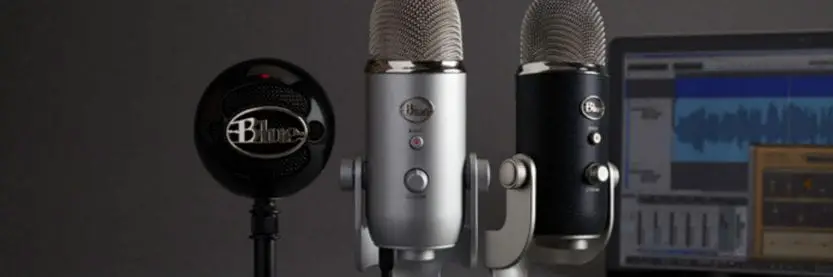
Do Not Stress Yourself to Choosing a Microphone
Choosing a microphone is indeed a common issue to face. But with the many selections out there, it can just be difficult to choose one. The type you will need maybe a ribbon type, condenser type, and a dynamic type.
The thing is that despite the types of microphones, the models, the makes, and the brands, you can always choose one. The dynamic microphone may seem not the best choice for an acoustic instrument or a completely-bodied vocal. It can then be used especially if it is the one available.
In all these, it relies much on the song and the sound of the performance. It is not about the technical character of a microphone chosen.
The Simple 4-Way to Get Your Mic in Phase Every Time
In the recording process using one microphone, it, of course, poses a challenge. The key here is for the microphones to be in a phase with one another. This is because the recording is an essential part of the tracks.
Out-of-phase and weak snare drums including guitar sounds may sound terrible. It may seem easy to do the fixing of the mix. This is done by moving the waveforms around. You could do it right by doing the things below.
- Set the microphones up as wanted.
- Record the snippet of audio. This is the same as a snare’s whack or a muted strum and double palm on a guitar.
- Zoom it right through the waveforms recorded. Make it sure that they are crest to crest and are lined up properly.
- As you do not succeed, try it again for several times.
Conclusion
Make the recording session successful by first setting things up perfectly. A good action plan is to be followed in this case. Even the positioning and selection process must be simplified further. Be upfront in the kind of sound you are aiming for. Avoid stress as much as you could as it will only spoil everything. It is to be followed by not stressing yourself to choosing a microphone. Lastly, it involves a four-simple way of getting a microphone in phase. Follow everything as cited in the article to get successful in recording!