If you are a passionate musician and respect your instrument, there is no doubt that you would have a well-planned maintenance routine. However, does this routine include a regular doze of sanitization? You may be wiping down your instruments before and after use to get rid of dust, sweat, or grime, but that may not always be enough.
Microscopic bacteria and viruses have a tendency to settle down on objects that come in human contact. One way this could happen is a user with bacteria or virus contaminants on their hands may touch the instrument, transmitting the contaminant onto it and putting the next user at risk. Similarly, even if someone coughs or sneezes around the instrument, it can lead to contamination. A simple wipe down may not always work in this situation. The only way to deal with this is a regular sanitization routine for your instrument.
Moderation is key
While it’s normal to be obsessive about sanitizing your musical instruments, it is important to be realistic about your cleaning routine. Many of us clean our instruments with the intention to sterilize them completely and permanently – a condition that is not possible to achieve unless you’re working in lab conditions. However, it is important to realize that our body was never designed to operate in a completely sterile environment. Also, our surroundings and environment make this impossible to achieve anyway. Instead, we must shift our focus to moderation and pragmatic cleaning schedules.
The second a cleaned or sterilized instrument comes in contact with the air or human handling, it can no longer be called sterilized. However, most viruses do not survive on hard surfaces without a host for prolonged periods of time. That being said, some groups of viruses and bacteria are rather hardy. This makes it extremely important to disinfect instruments every now and then. So, while you can’t be perpetually sanitizing your instrument each time it is exposed to the air, you can decide a frequency according to the conditions under which it is used.
What level of sanitization do you need?

While the instrument type and material are important factors in deciding what level of sanitization is required, there is much to be considered even before you get to this stage. To begin with, think about how often an instrument is played, and by how many people. For example, a cello played at home by a single user requires a dramatically different cleaning routine as compared to a piano played by multiple users at a music school. So, when it comes to something like a cello used at home, it must be treated like any other object of everyday use. However, if someone asks to use your cello, you must insist they wash their hands thoroughly and you must also clean the instrument after the person is done. Similarly, an instrument at a music school will require a more intensive sanitization schedule to keep instruments clean.
How to sanitize your instruments
Given that different instruments feature varying construction and materials, the cleaning routine you follow also needs to be cognizant to these variations. Using the wrong cleaning product on an instrument can damage it to an irreversible level. Here are some specific steps to take when cleaning different types of instruments.
· Wind instruments
Since mouthpieces come in direct contact with the user’s mouth, they need to be thoroughly cleaned inside-out using disinfectant solutions or alcohol wipes. Doing so helps prevent grime and dirt buildup within the part.
For cleaning the insides of the body, you can use a lint-free cloth rag and cleaning rod that is slightly smaller than the inner diameter of the instrument. Wrap the cloth around the rod and gently insert it in the inner diameter of the instrument to clean any residue or buildup. You can also spray the cloth lightly with disinfectant spray.
You can find specially formulated solutions for hard rubbers, plastics, and metals that make sure no damage is caused to these parts. Isopropyl alcohol wipes are considered to be safe for most of these surfaces. Alternatively, you can use a mixture of 50% vinegar and 50% water, or 50% hydrogen peroxide and 50% water to clean these parts. Either way, make sure you never spray disinfectants or sanitizers directly into the instrument.
· String instruments
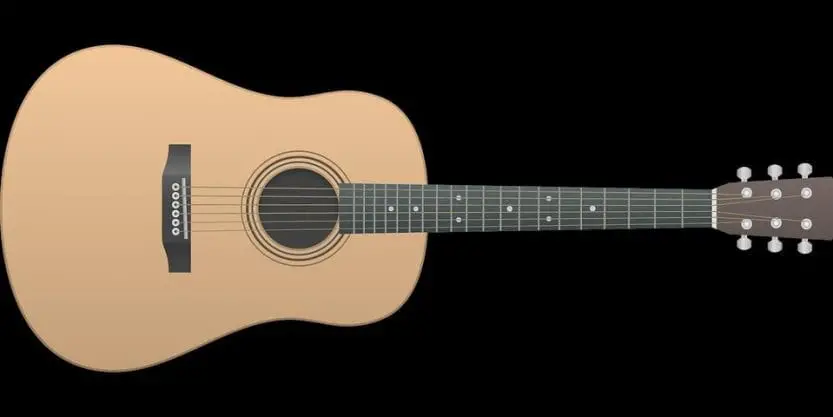
A similar combination of lint-free rags and disinfectant solutions or wipes can be used to clean string instruments. Use a 70% isopropyl solution, or a vinegar solution to dampen the rag. Gently wipe down the instrument from top to bottom making sure you get all the parts that are touched often.
While isopropyl solution does evaporate rapidly, it is not advisable to expose wooden instruments to a high frequency of disinfecting routines. If the wood used in these instruments is not sealed, it may absorb the liquid and swell up in time. Similarly, even if the instrument has finished surfaces, it may get discolored with extensive cleaning.
Most importantly, irrespective of which cleaning agent you choose to use, make sure you read the use instructions carefully. Pay close attention to any warnings or disclaimers, and get a clear idea of how the solution reacts with different types of woods and finishes.
· Percussion instruments
Apart from the basic, most important first step of washing your hands before picking up any instrument, there are some easy ways to keep your percussion instruments bacteria and virus free. Once again, all you need is a piece of lint-free cloth and some disinfectant spray. Alternatively, you can also use disinfectant wipes to get your percussion equipment in pristine condition. Once you’re done cleaning the instrument, you can wash the cloth with soap and warm water, and allow it to dry. Again, you must keep in mind that excessive use of these solutions can cause wear, especially in the case of stickers or markers.
· Electronic equipment
The process of cleaning electronic equipment is not very different from any other musical instruments. The risk, however, is escalated due to the presence of circuitry or complex machinery. The possibility of liquid seeping into the circuitry and causing short circuits and other issues is extremely high in these types of equipment. Whether its synthesizers, drum pads, or turntables, cleaning this equipment has to be done superficially in a way that no liquid or moisture gets into the circuitry or machinery.
Use a lint-free rag with some disinfectant spray and you’re good to go. Lightly wipe the upper surfaces of equipment and allow it to dry. Make sure the rag is only lightly damp and not dripping wet when carrying out this process.
Maintaining the right frequency and intensity
While it is important to have a regimented cleaning routine, you don’t want to be disinfecting your instruments too often. This holds true especially in the case of alcohol-based sprays and disinfectants. These cleaning solutions often cause surface wear and may also affect the instrument tone in certain instruments. Make sure you avoid using abrasives entirely because they can damage the appearance and performance of musical instruments. Also, under no condition should you spray disinfectants directly on or into an instrument.
Prevention can be key
Situational awareness can be a game changer in the realm of hygiene. As discussed earlier, rented or shared instruments require a higher level of sanitization given that multiple people handle the same instrument. That said, there are easier ways to cut the risk at the source rather than going all out with sanitization and damaging your instrument in the process. Here are some simple, yet highly effective ways to make sure your musical instruments require sanitization at a lower frequency:
Wash your hands before using an instrument and ensure that anyone else using the instrument does the same. The best way to do this is to make hand sanitizers or washing stations easily accessible. At home, this is easier to manage. However, even in an institutional setting, you can place hand sanitizers and alcohol wipes in abundance, and in plain sight to encourage people to wash their hands before using an instrument.
At music schools or other institutional setups, its best to encourage students to carry their own instruments. In instances where players have their own instrument but avoid carrying them along, it is best to set the expectation right. This will encourage players to carry their own instruments when possible.
Even if instruments are shared, components such as mouthpieces and reeds should not be used between multiple players. These parts come in direct contact with players’ mouths and are exposed to high-intensity breathing. While they can be sanitized for reuse, it’s simpler and safer to get players to carry their own pieces. Once these steps are in place, you can be rest assured that you won’t be required to sanitize your instruments, and expose them to harsh cleaning agents too often. Even when you do carry out the cleaning routine, you need to ensure you are well aware of both, the type of cleaning agent in use and its possible effects on the instrument. The right method of cleaning combined with an optimum frequency to carry this out is the best way to ensure that your instrument is pristine, and also in the best possible shape.


